


Removing the factory stereo from a BMW X3 doesn't require a mechanic — you just need the right tools and a little patience.
Whether you're upgrading to a modern head unit or replacing a faulty stock radio, this step-by-step video shows you exactly how to remove the radio from a BMW X3 E83 model (2004–2010) without damaging any trim or connectors.
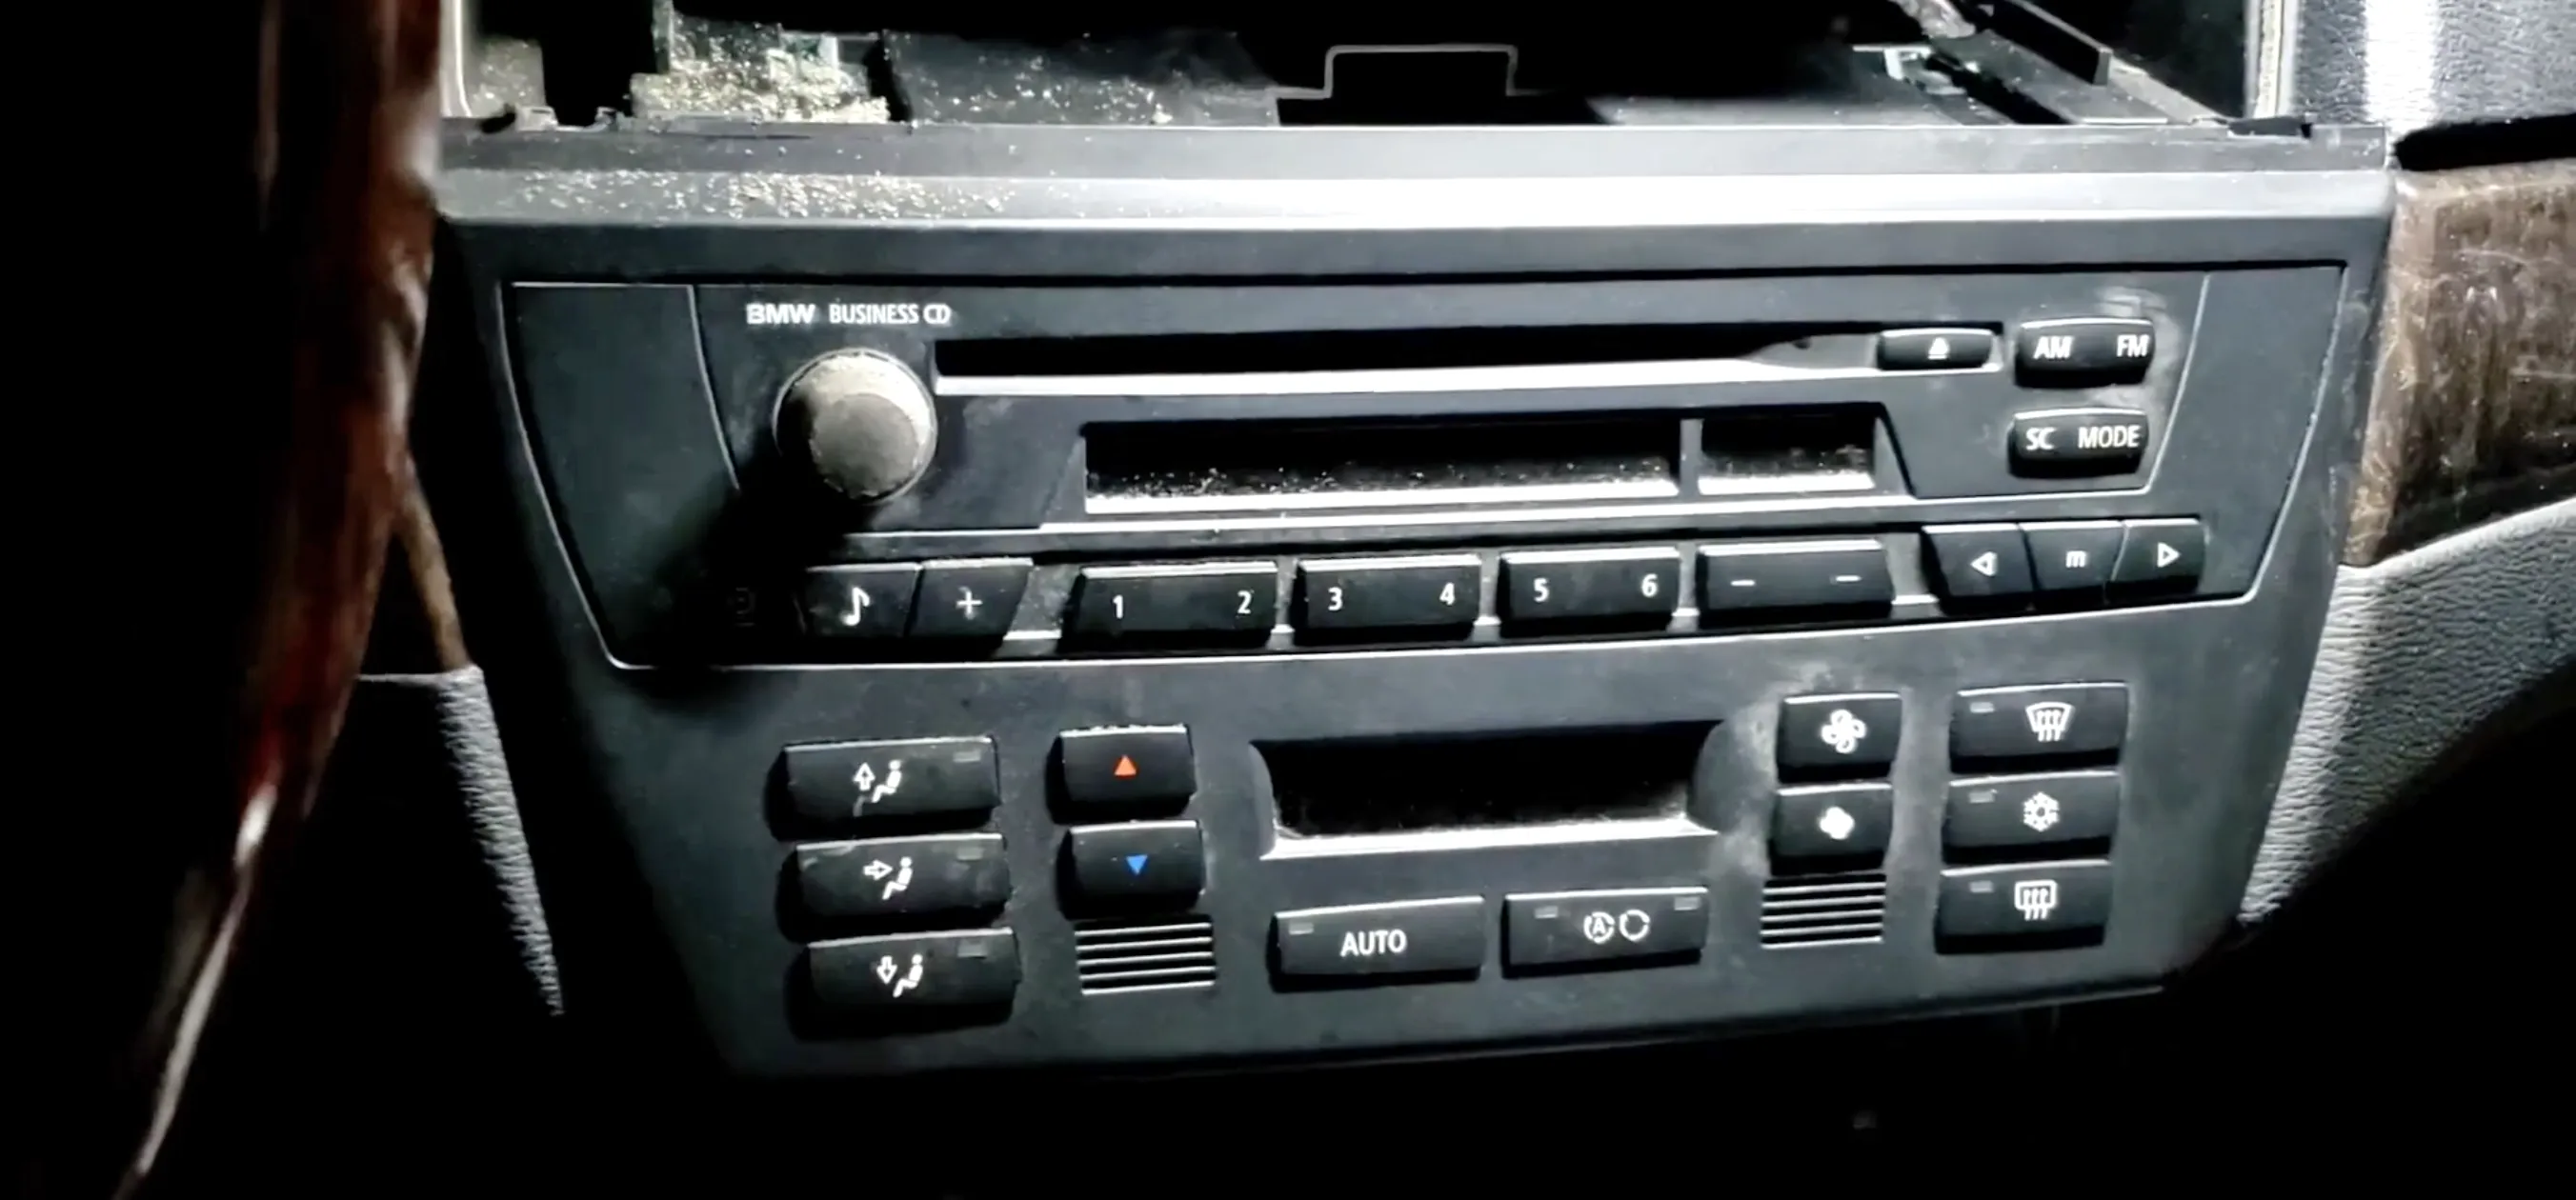
This uncut walkthrough covers removing the dash trim, unscrewing the head unit, and disconnecting the factory plugs and antenna. It's perfect for DIYers who want to install a new stereo, add Bluetooth, or access wiring behind the dash.
🎥 Watch the full video for a real-time demonstration on a 2007 BMW X3.
Tools you'll need
Phillips screwdriver (manual or power drill, optional)
Steps to remove the radio from a BMW X3 (E83, 2004–2010)
Remove the dash trim: Use a plastic pry tool to gently lift the bottom edge of the radio bezel (beauty ring). It's held in by just two clips and should come off with light pressure.
Unscrew the head unit: Once the trim is removed, use a Phillips screwdriver to remove the two screws securing the radio to the dash.
Detach the radio unit: Carefully pull the radio forward. Support the unit to avoid putting stress on the wires.
Unplug the connectors:
Disconnect the antenna cable by pressing the locking clip and pulling it straight out.
For the main wiring harness, squeeze the release tab and slide it out of the connector housing.
That's it — your radio is now fully removed and ready for replacement, repair, or an upgrade.


Comments
Be the first, drop a comment!